It’s often pretty hard to figure out what in the world is causing your energy bill to spike. If you’re someone with an outdoor ac unit, that’s the first place you should check.
While the unit may seem to be functioning well, you could very well be throwing money out the window if it is dirty. Cleaning your ac unit is relatively easy, and it can significantly improve your temperature control. People often assume that they would know if the unit wasn’t working, or that they don’t require any maintenance but this isn’t true.
Do yourself a favor and follow our guide to cleaning your outdoor ac unit.
How to Clean Your Outdoor AC Unit
First things first, make sure that your unit is not on. Make sure you switch off the electricity and take a look at the voltage of the ac unit by using a multimeter. If you don’t have a multimeter, you should look into getting one.
They are used to gauge electrical voltage and current. They are usually handheld devices and come in analog and digital. It’s recommended that you purchase a digital one, as they are typically more accurate and easier to use.
This is especially important in the case of the ac unit because the fans could potentially start up while you’re working on the system.
What You’ll Need
There isn’t an extensive list of tools needed for this task, but you will need a few supplies. You’ll want a ratchet, a flathead screwdriver, and there’s a potential need for a mallet.
You’ll start by using your screwdriver to detach the metal shielding from the sides of the unit. Once the sides are entirely exposed, you’ll see some buildup covering the perimeter of the unit. Take a garden hose and start spraying the outside of the unit.
Don’t have the hose spraying particularly hard, but have enough force to clear out debris stuck to the sides of the unit. Continue doing this until the sides of the unit are clean, without any build up stuck to the vents. You should also clean any debris that is sitting at the bottom of the unit.
You Can Also Use Cleaning Spray
If your fins are particularly dirty, you can use a light cleaning spray to scrub away any unwanted material. It may not seem like much, but you’ll be happy a few years down the line when you have to replace a rusting unit.
You may also notice that the fins are particularly closed or tightened. This happens most commonly in units that have very close-knit fins. In these cases, you have the option of opening up the fins a little bit by putting a butter knife between them and making small separations between.
Units sometimes need this, as the more closely the fins fall together, the more difficult it is for the unit to collect air. These disruptions in the air flow cause the unit to operate poorly, possibly using up extra energy to compensate. You should be careful not to stick the knife too deeply, though, because the tubing beneath can get damaged.
Coil Cleaner
You will need to buy a can of coil cleaner as well, and these can be found at general home-goods stores. After you’ve washed your unit with hose-water and separated any connected fins, spray the entire unit with your coil cleaner.
Once this is done, give the unit around fifteen minutes to soak in the coil cleaner. This allows the cleaner to break down any materials that may be difficult to remove. The cleaning material foams up, connects with the dirt on the coils, and begins to break-up unwanted materials.
After you’ve let the unit sit for a short amount of time, you’re clear to pull out the hose again and rinse off the entire unit. Once this is complete, you should be good to reattach the outer shields and turn your power back on.
You’ll want to plug everything back in if you took out any tubes. Once that is done, go into your house and set your thermostat to a low temperature. You want to make sure that you didn’t disconnect anything in the unit, so wait ten minutes for the thermostat to kick and go back out to your unit.
The bottom of your unit, typically next to the power chord, has both an insulated tube and an uninsulated tube. These will likely be small tubes wrapped in a black material that connects to the lower part of your unit.
Determining which is which just by looking is pretty difficult, but you won’t need to worry about that. You just need to feel both of them to make sure that one is warm and the other is cool. If so, the unit is working properly again.
If they are not cool and warm, you may have to seek professional assistance.
There May be Complex Problems
There are certain things that you should stay away from when cleaning your unit, though, and you should not attempt cleaning if there’s anything you’re not sure of.
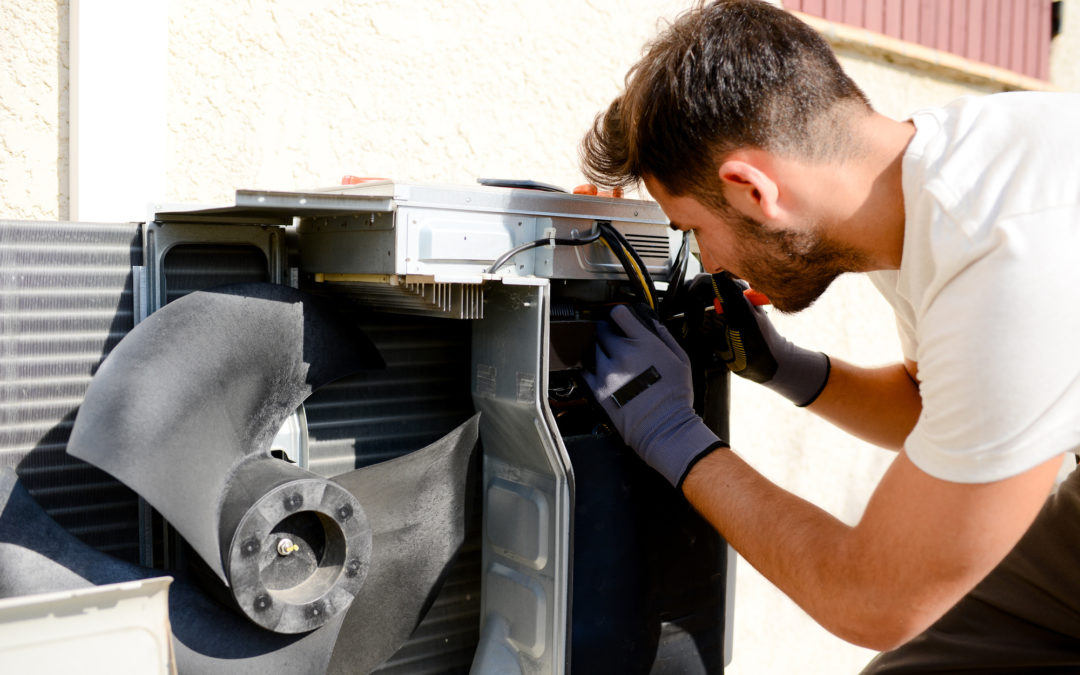
If it seems that the problem may be in the condenser fan, it’s likely that there is debris caught in it somewhere. These fans blow upward, however, so in order not to jam more debris down, you need to remove it and spray from the bottom up.
The problem with doing this yourself is that there are a few chords connected to the condenser fans. There is also the chance that the unit has saved a charge, even if the electricity is off. For this reason, it may be best to leave the task to a professional.
In Need of a Professional?
It’s always best to consult with the pros if you aren’t sure that you’re cleaning safely. Outdoor ac units also come in many forms, and maybe yours is not like the one described in this article.
If you’re in need of any professional help with your ac unit, contact us and we’d be happy to help.