Did you know that the average American spends around $3000 on home repairs each year?
When it comes to home maintenance, unexpected issues like a leaking water heater can cause quite a bit of stress.
If you’ve noticed water pooling around the top of your water heater in York County, PA, you might be wondering what could be causing this problem. In this guide, we’ll explore the potential reasons behind a water heater leaking from the top.
Read on to learn the signs and find out what to do next.
Understanding Your Water Heater
Before we delve into the reasons for a top leak, it’s essential to have a basic understanding of how your residential water heater functions.
A water heater is a vital appliance that provides hot water for various household activities. It consists of a tank, heating elements, a pressure relief valve, and inlet/outlet connections.
There are many reasons why a water heater might go wrong. Here are a few common causes to look out for:
Corrosion and Rust
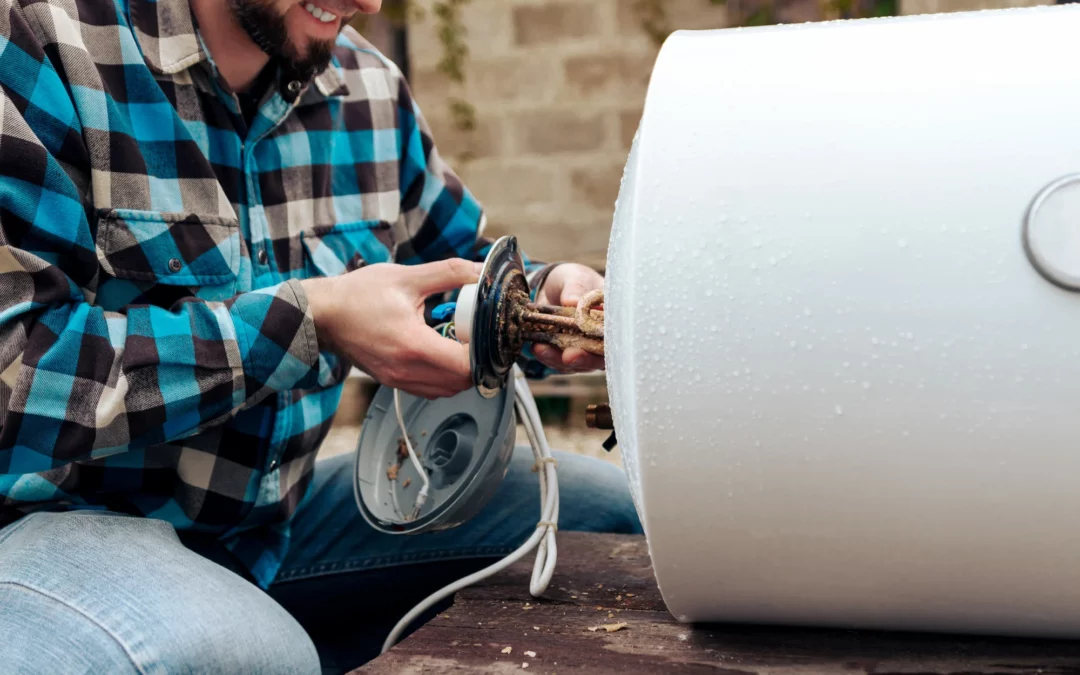
One of the primary culprits behind a water heater leak is corrosion. Over time, the metal components of the water heater, especially near the top, can corrode due to constant exposure to water and minerals. This corrosion weakens the metal and can lead to small cracks or holes.
Over time, this minor damage can lead to a range of different issues, from rising energy bills to structural water damage. If you notice rust, take proactive steps to address it before it gets any worse.
Pressure Valve Malfunction
The pressure relief valve plays a crucial role in preventing excessive pressure buildup inside the tank. If this valve malfunctions, it can cause pressure to accumulate, leading to leaks from the top. This is a safety concern that should be addressed promptly.
Loose or Damaged Fittings
The fittings and connections around the top of the water heater can become loose or damaged over time. These fittings ensure a secure connection between the pipes and the tank. A weakened or damaged fitting can result in water leakage.
If you’ve noticed weird noises around the house, such as knocking, ringing, or tapping, a loose pipe could well be the culprit. Over time, the fittings will become looser and looser until you either lose pressure entirely or spring a serious leak.
Check out this troubleshooting guide to help identify the issue:
Safety First
Before attempting any troubleshooting, ensure your safety. Turn off the power supply to the water heater to avoid electrical hazards. Allow the unit to cool down before proceeding.
Use the correct personal protective equipment and never take on tasks that you don’t understand – you should call a pro instead.
Turning Off the Water Heater
Locate the power switch or circuit breaker for the water heater and turn it off. This step will prevent further water flow and potential hazards during the inspection and repair process.
Inspecting the Pressure Relief Valve
Check the pressure relief valve for signs of leakage or improper operation. The valve should release a small amount of water during normal operation. If the water continuously flows from it, the valve may need replacement.
Checking for Loose Fittings
Carefully examine the fittings and connections at the top of the water heater. Tighten any loose fittings using appropriate tools. If a fitting is damaged, consider replacing it to prevent further leaks.
Examining the Tank and Connections
Inspect the tank itself for signs of corrosion or damage. If you notice any cracks, holes, or severe corrosion, it’s best to consult a professional. Check the inlet and outlet connections for leaks as well.
When to Seek Professional Help
Sometimes, the DIY approach is not an option. In certain situations, it’s a good idea to seek professional help.
If the water heater tank shows extensive corrosion or rust, it’s a clear indication that the unit is compromised. You will likely need a new water heater installed by a qualified heating engineer.
If you’ve attempted basic troubleshooting steps, such as tightening fittings, and the leaks persist, it’s time to seek professional help. Continuous leaks can lead to water damage and energy wastage.
Preventing Future Leaks With Maintenence
To prolong the life of your water heater and prevent leaks, schedule regular maintenance. Sediment buildup in the tank can accelerate corrosion and affect the heater’s efficiency. Flushing the tank helps remove sediment, reducing the risk of leaks and ensuring optimal performance. This should be done at least once a year.
The anode rod is designed to attract corrosive elements, protecting the tank from rust. Over time, the rod becomes depleted and should be replaced to maintain the water heater’s integrity.
A diagnostic check from a heating engineer will quickly tell you if you need a new anode rod. It’s a straightforward repair that will save you time, money, and stress down the line.
Water Heater Leaking From Top: What To Do Next
A water heater leaking from the top can be a worrisome situation, but with a clear understanding of the potential causes and proper troubleshooting steps, you can address the issue effectively.
Regular maintenance and timely repairs are key to preventing leaks and ensuring the longevity of your water heater.
Knowing when to call a professional can save you money and hassle down the line. Here at Williams Service Company, we’re on hand to diagnose and repair problems with your water heater and much much more. Reach out today for a free quote.

